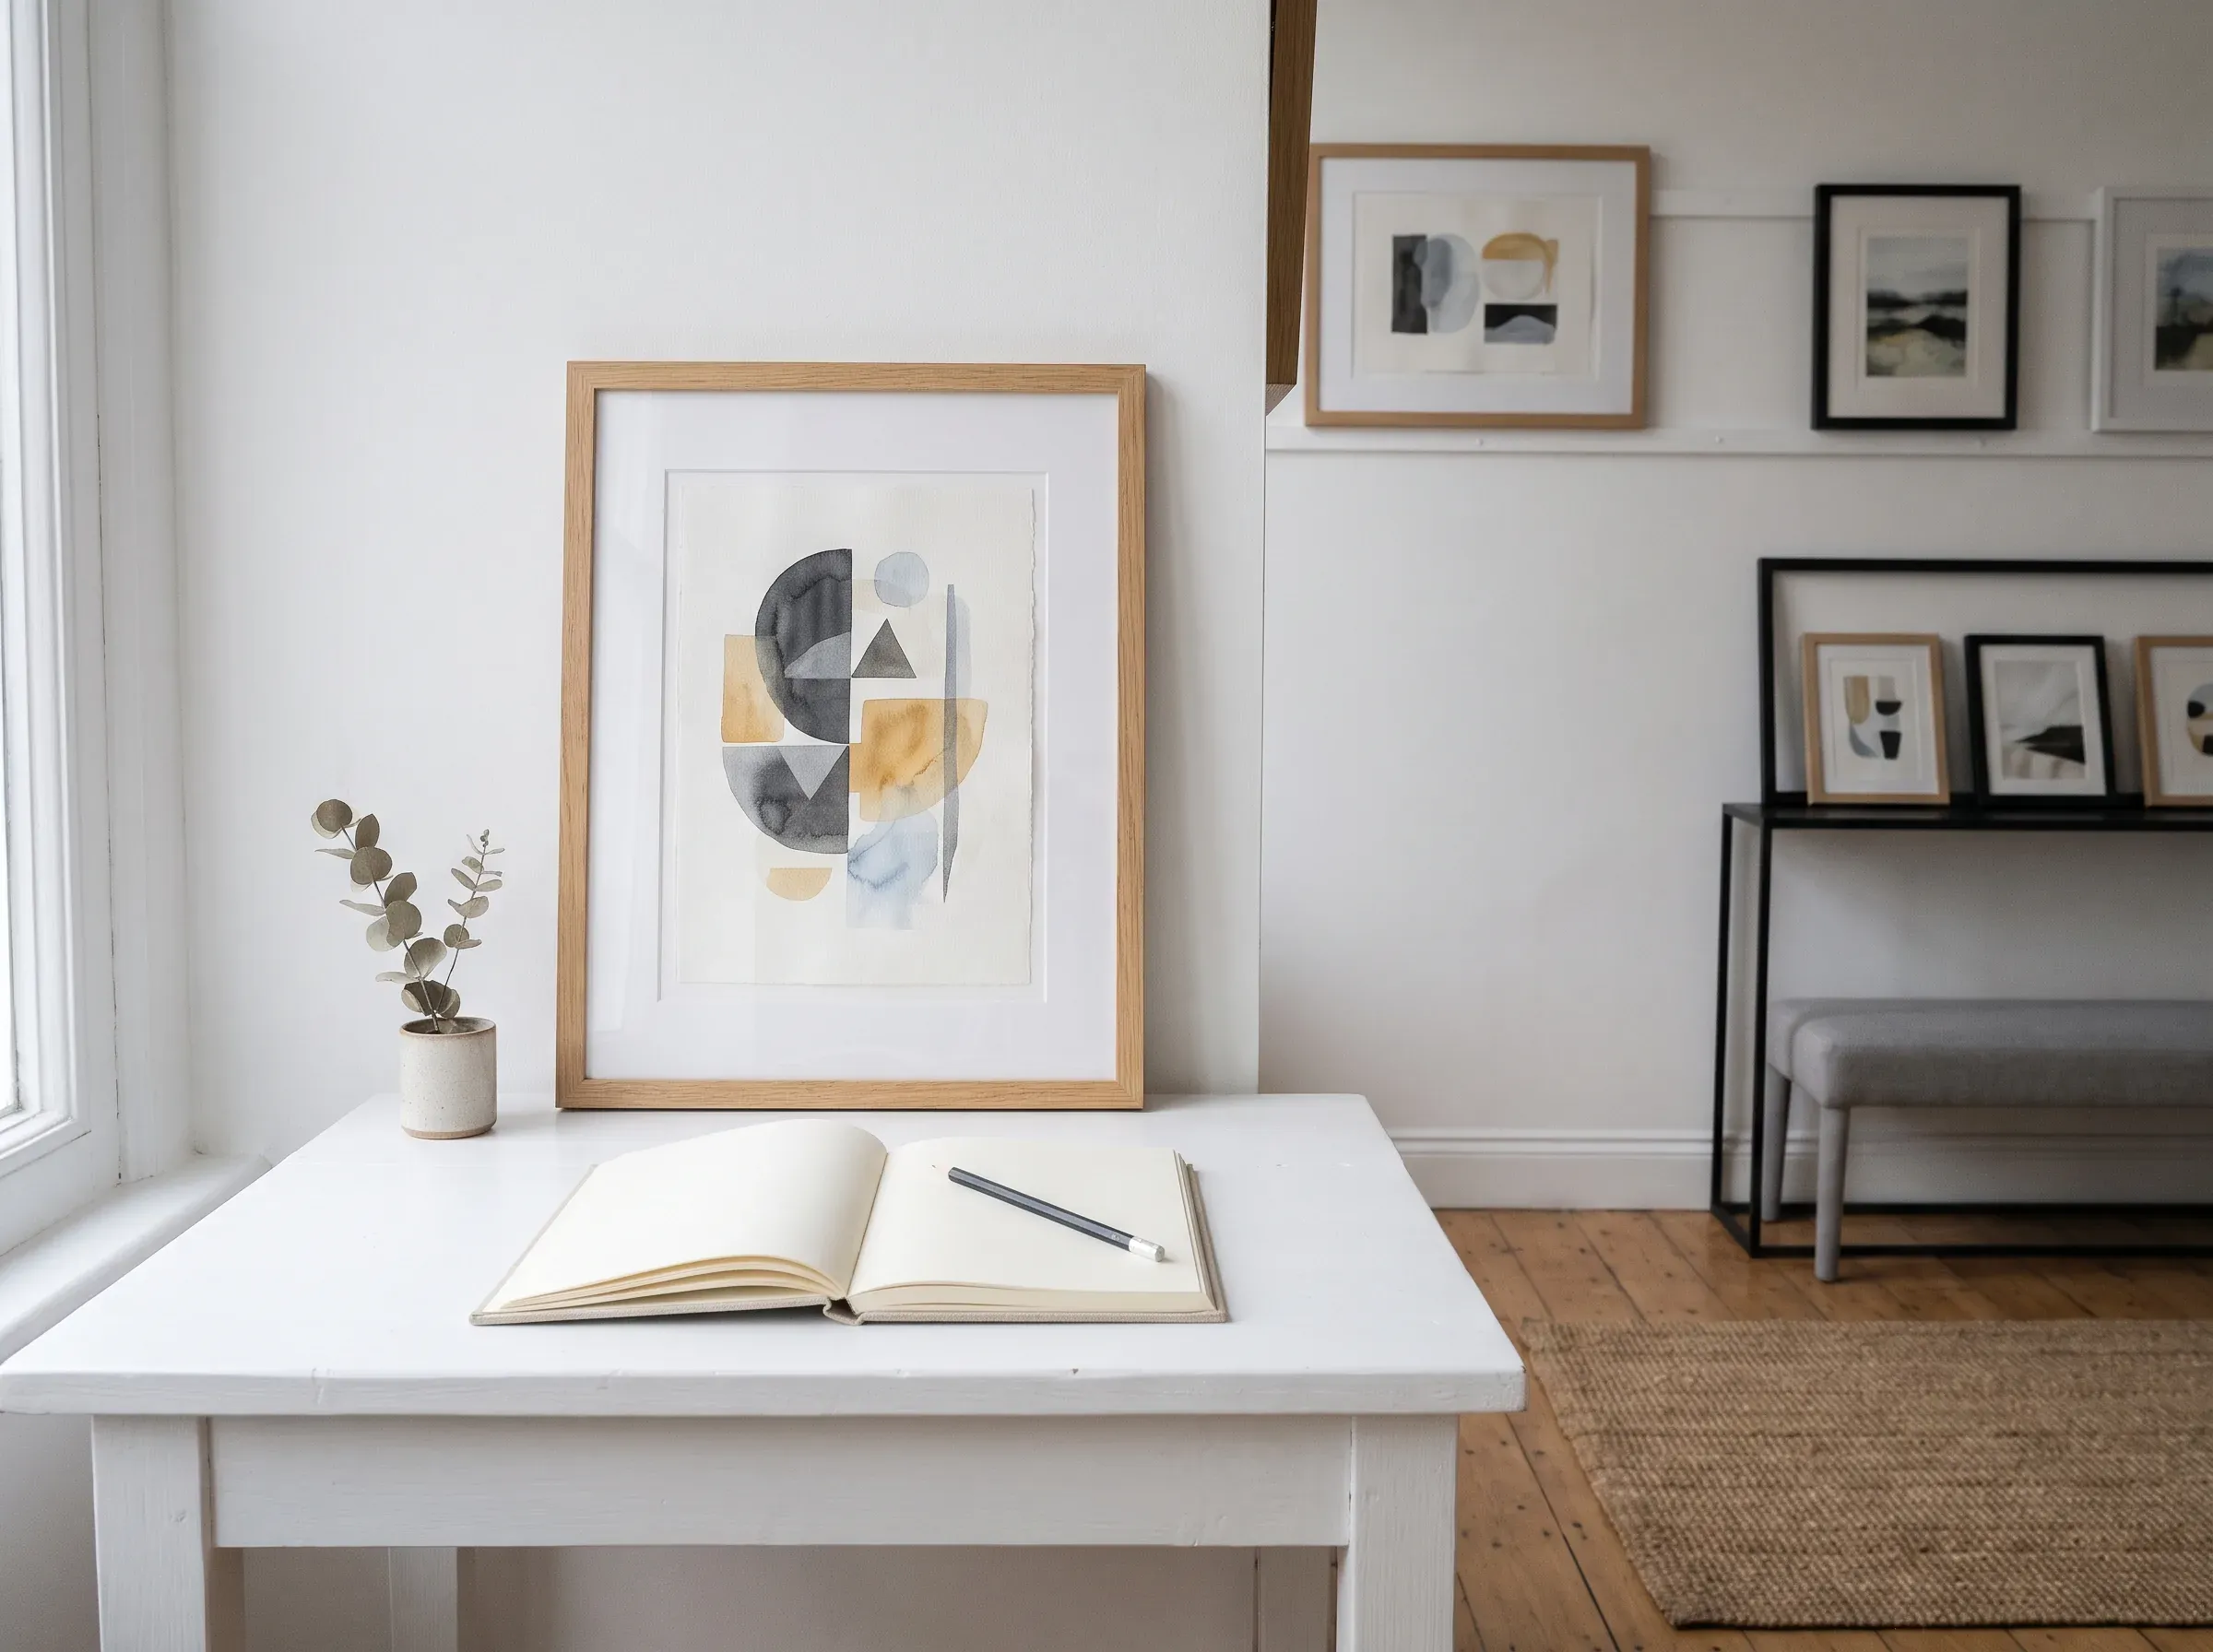
Prints and posters
We use cookies to improve your experience, analyse traffic, and personalise content. You can accept all, reject non-essential, or manage your preferences. Cookie policy
01 Tools
You need less than you think: something to measure, something to mark and a level. The fixing is the part worth choosing carefully.
01
Tape measure
Measure the wall, the furniture and the outside of the frame.
02
Pencil
Mark the centre line lightly, and check it before anything goes into the wall.
03
Spirit level
A short level is enough to keep a frame straight.
04
Fixings
Choose a fixing for the wall: masonry, plasterboard or timber.
05
A second pair of hands
Large or glazed frames are easier to place with help.
02 Height on the wall
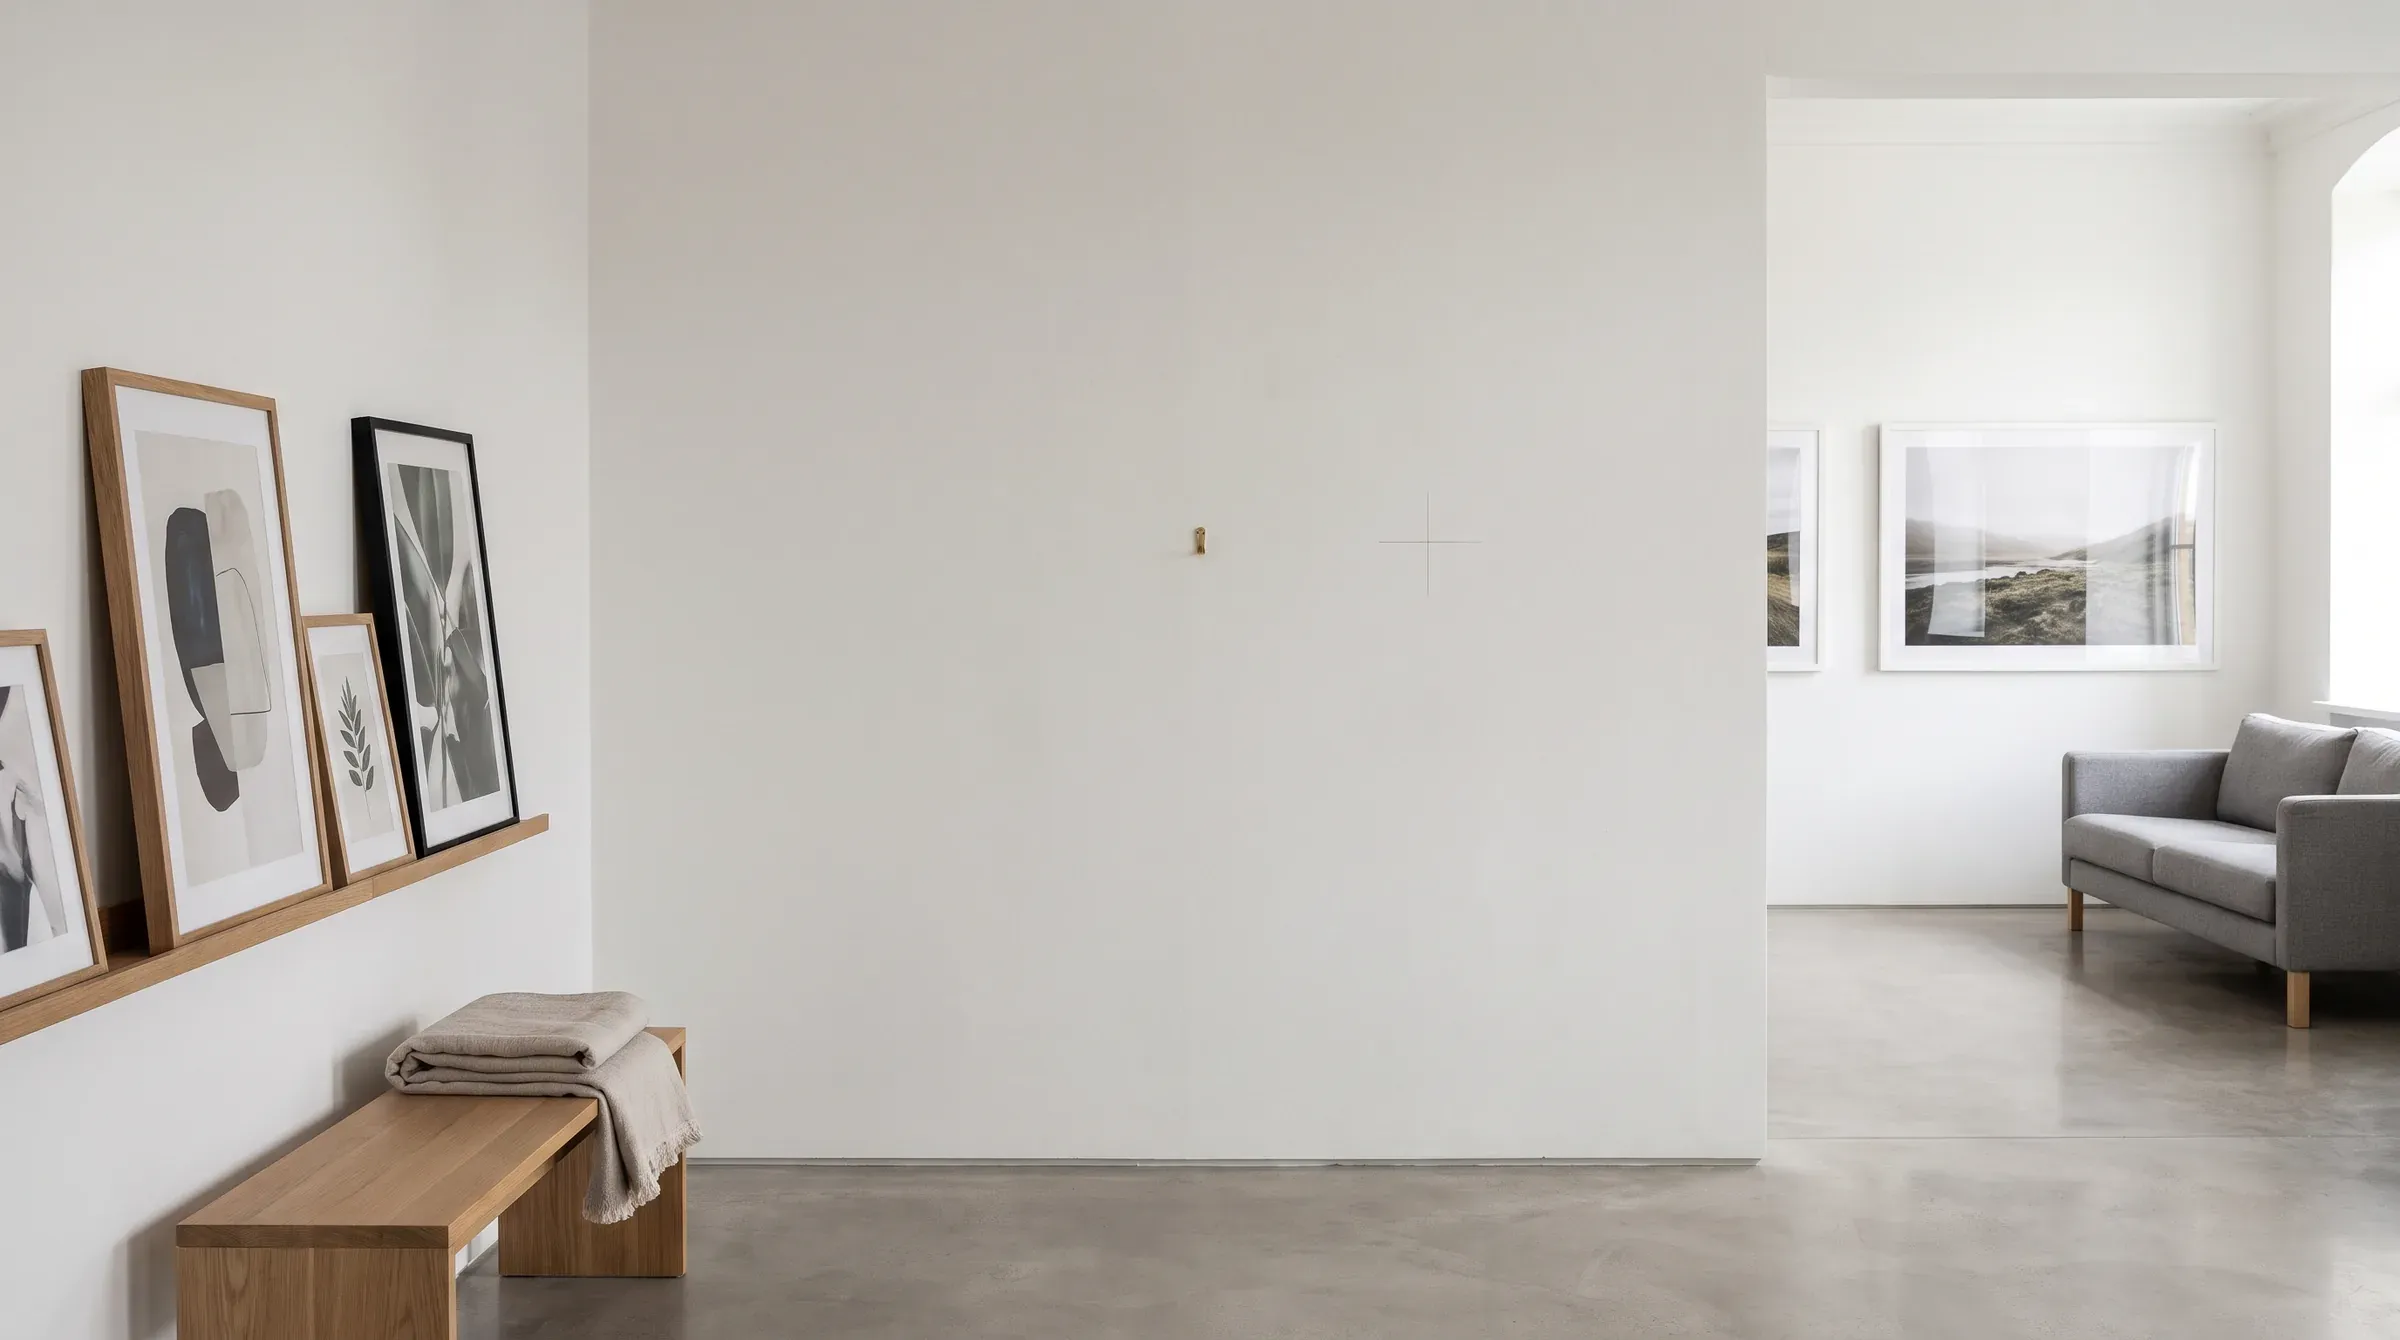
For a print on an open wall, a common rule of thumb is to put the centre at about 145 to 152 cm from the floor. In a room where people sit, the furniture usually sets the height.
01
Standing view
About 145 to 152 cm to the centre is a common starting point for an open wall.
02
Seated view
In a living or dining room, sit down and check the print from where people look at it.
03
Above furniture
Let the top of the sofa, sideboard or desk set the height, then keep the gap steady.
04
Small rooms
A slightly lower centre can make a print feel part of a small room.
03 Above furniture
Above a sofa, a bed, a sideboard or a desk, leave about 15 to 25 cm between the top of the furniture and the bottom of the frame.
01
Sofa or bed
A gap of about 15 to 25 cm keeps the print connected to the furniture without crowding it.
02
Sideboard or desk
Use the same gap, and check the print against anything standing on the surface.
03
A lamp or a vase
Leave room for the tallest object that will sit in front of the print.
04
A pair over furniture
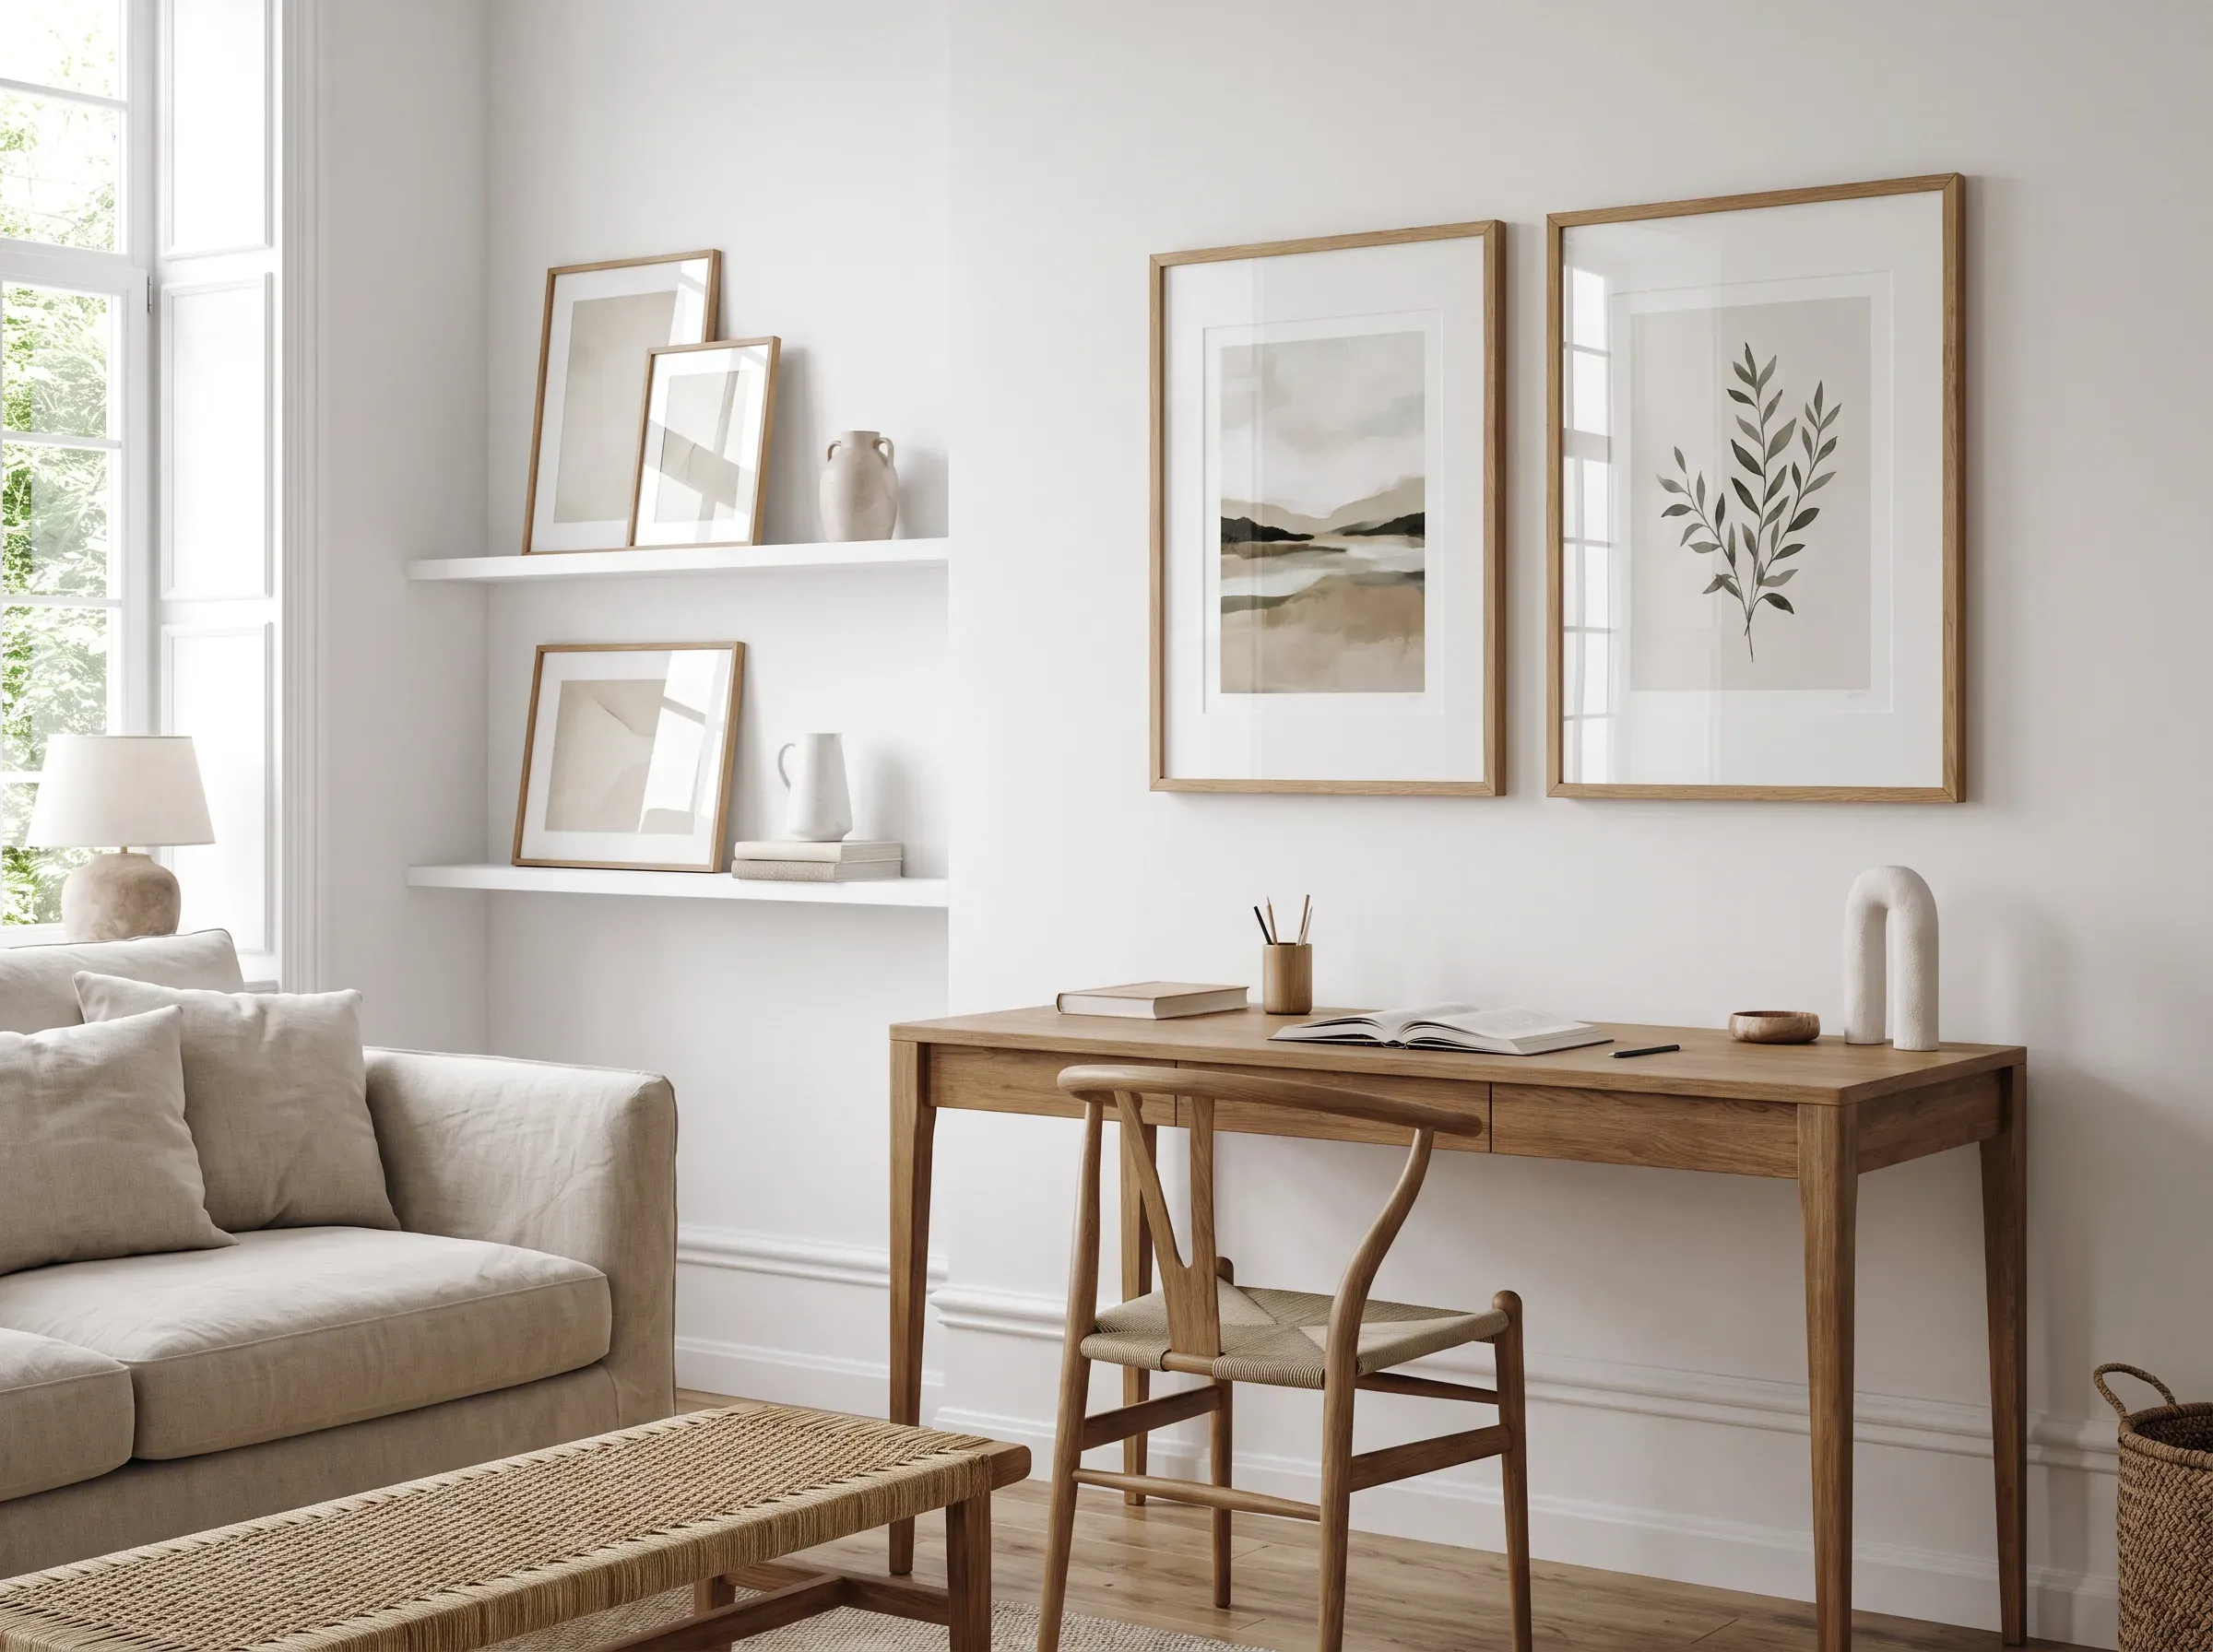
Centre the pair on the furniture, not on the wall, and keep the gap between frames equal.
04 Pairs and rows
Two prints hung together read as one object. Hang them as a pair from the start, with the same gap and the same top line.
01
One composition
Choose the frames and the gap together, so the pair looks deliberate.
02
The gap
A steady gap, narrower than the width of one frame, holds the pair together.
03
Top or centre
Line up the tops for frames of the same height, or the centres for different heights.
04
Over furniture
Centre the pair on the furniture below it, not on the wall.
05 Gallery walls
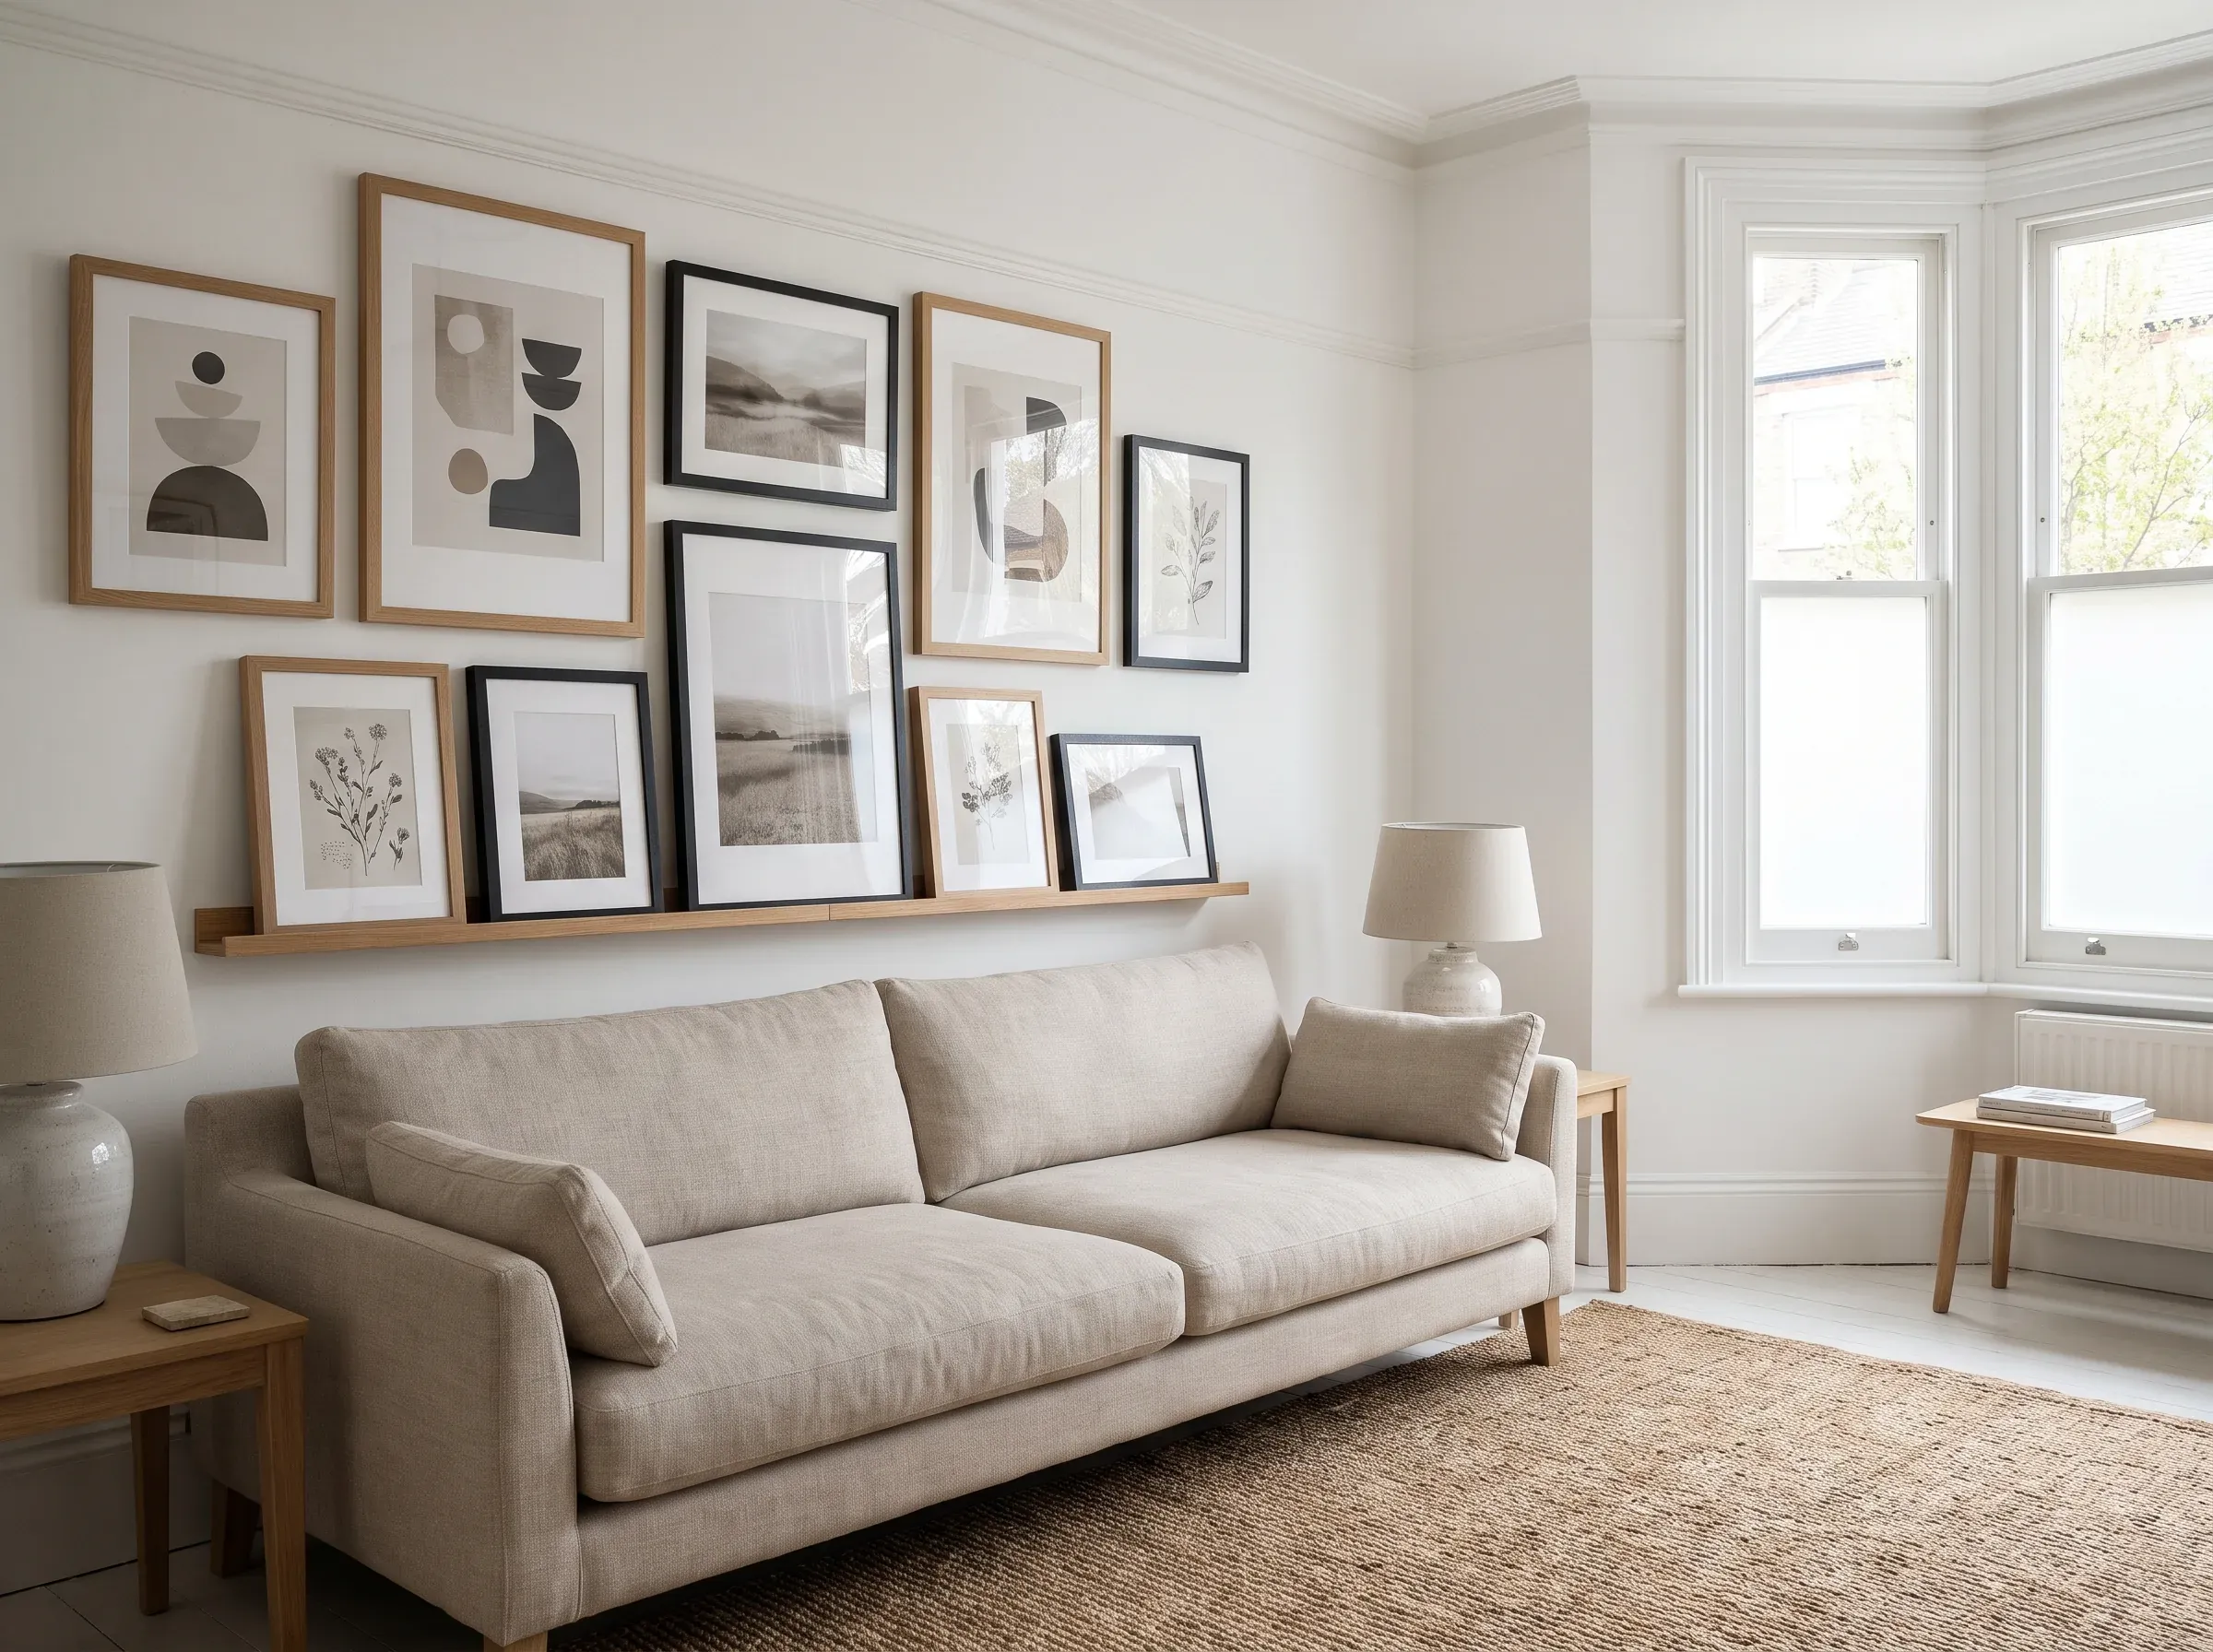
A gallery wall is a composition, not a grid. Start with the largest piece, then let the others answer it.
01
Start with the largest
Put the largest piece at eye level, slightly off centre, then build around it.
02
Keep the gaps equal
A steady gap between every frame reads as one composition.
03
Lay it out first
Move the frames around on the floor before anything goes on the wall.
04
Mix the sizes
Different sizes are fine; keep the outer edges calm and the gaps even.
06 Rails and shelves
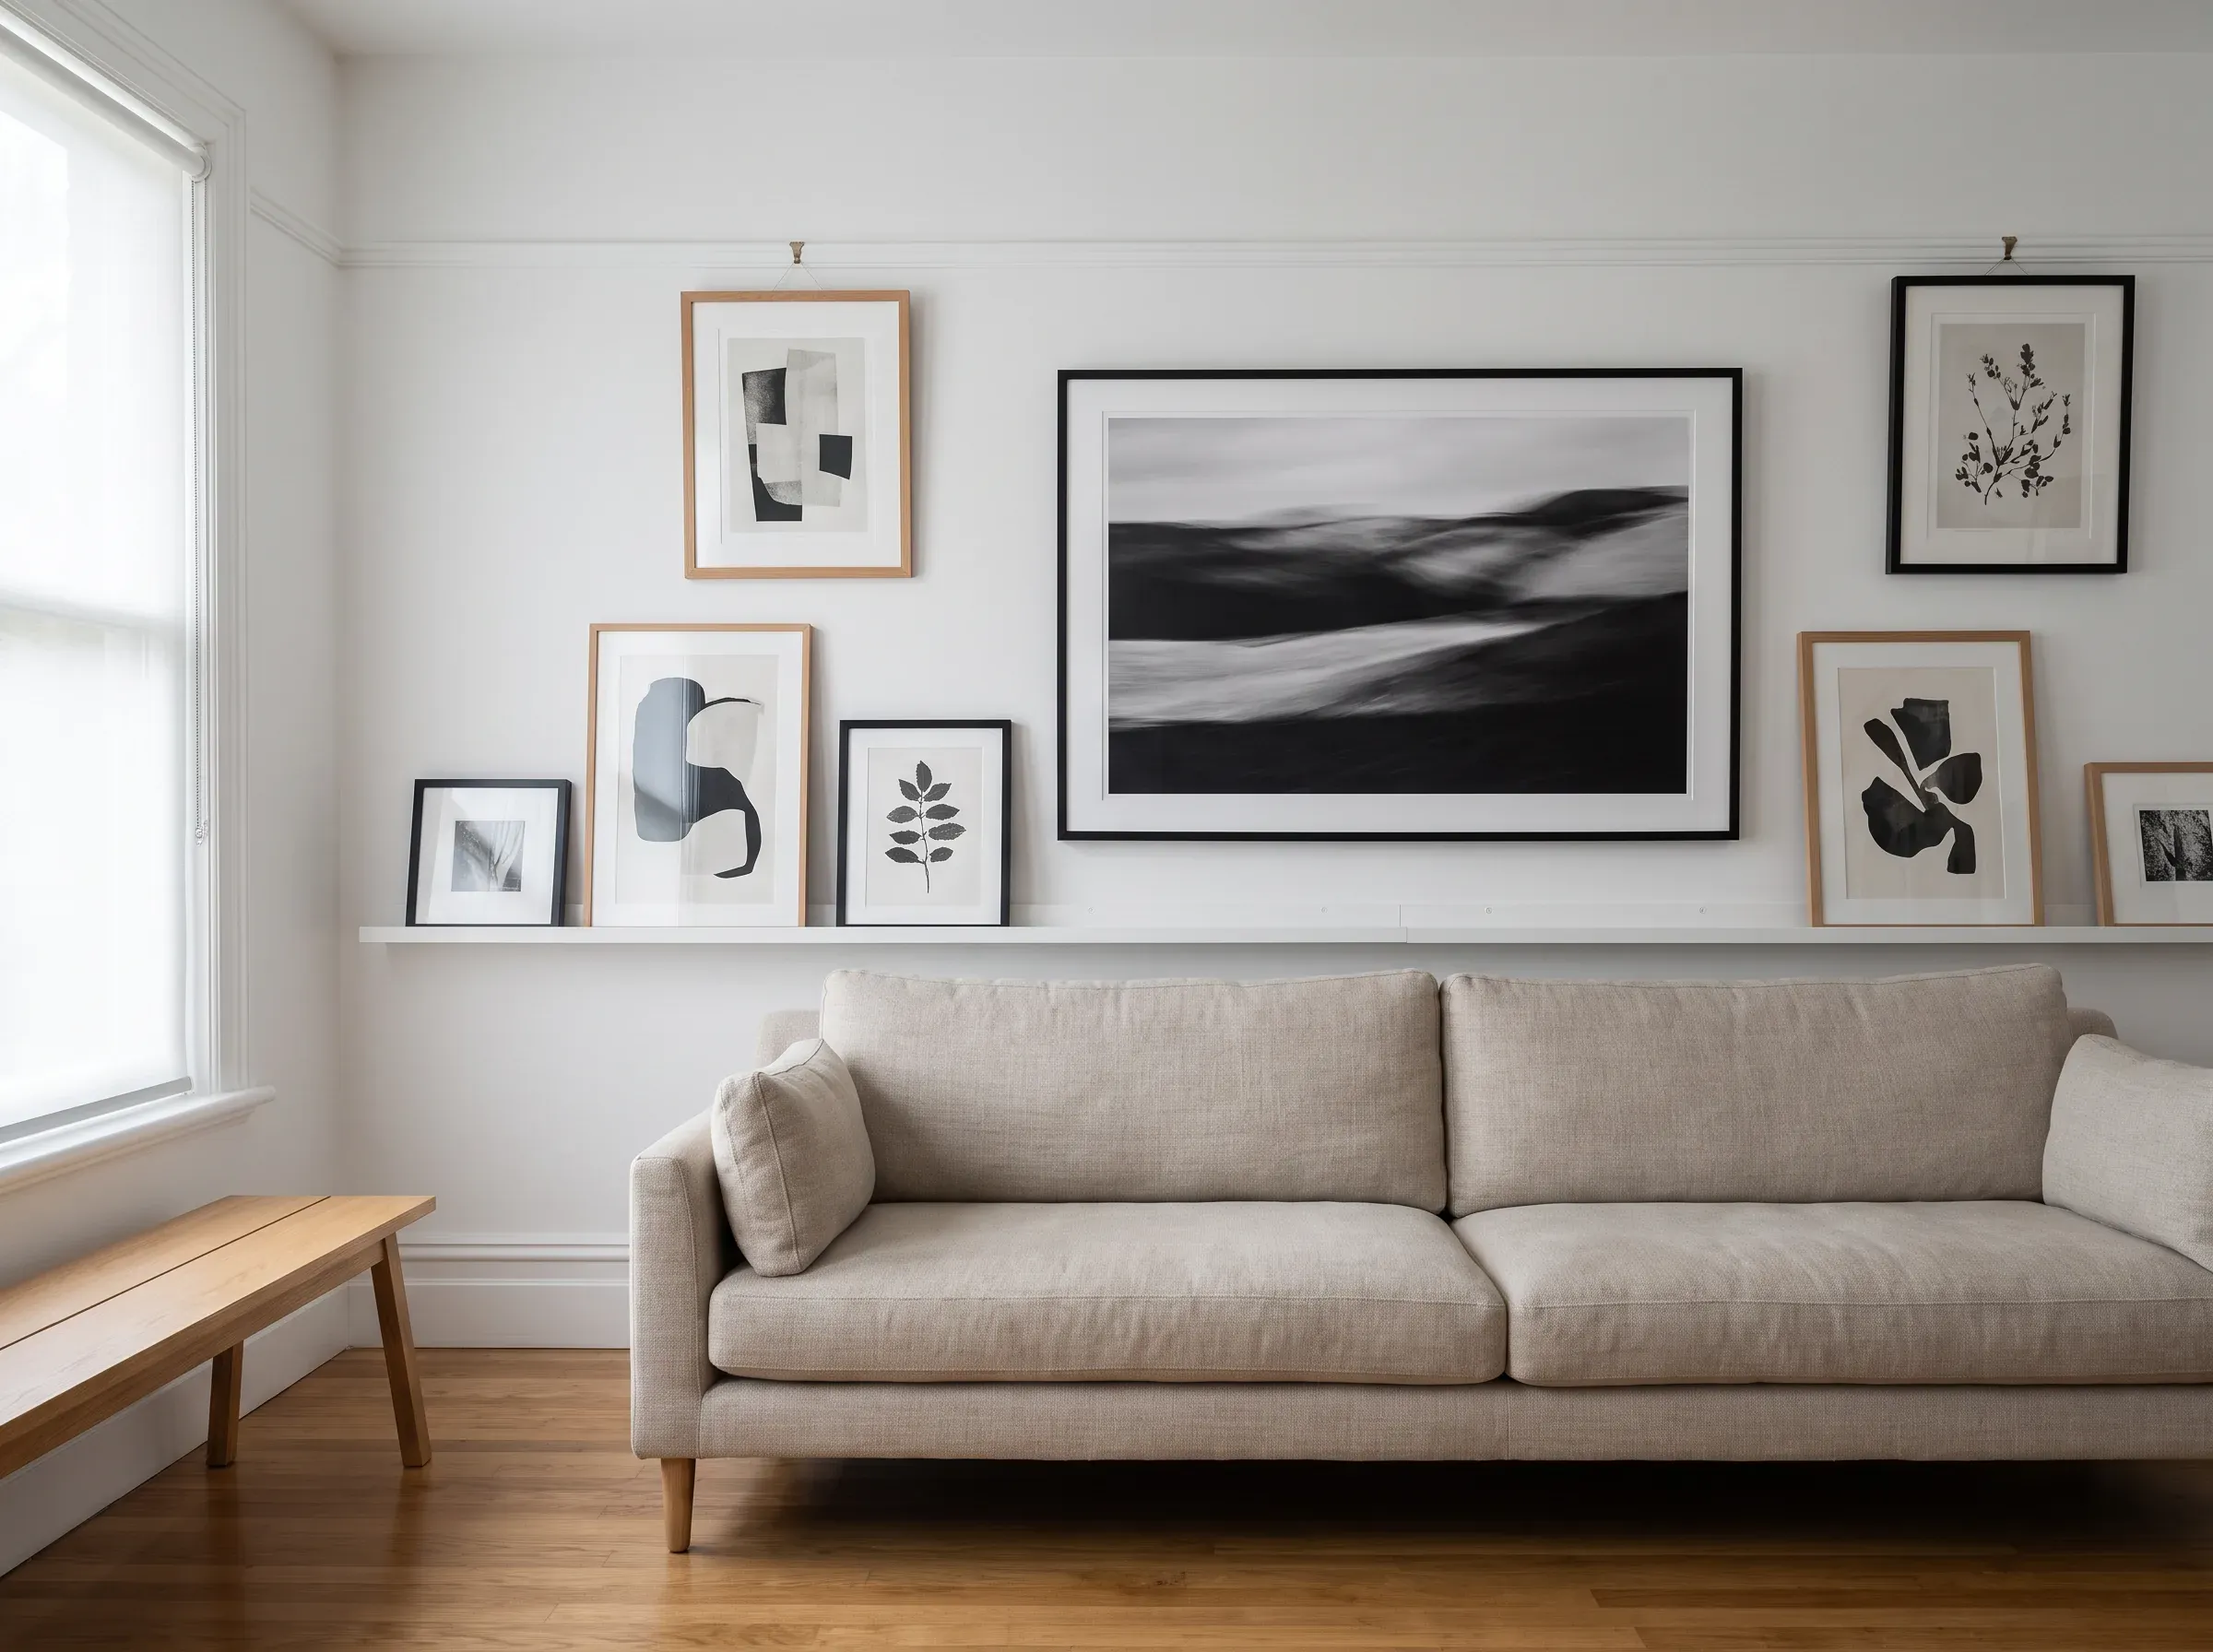
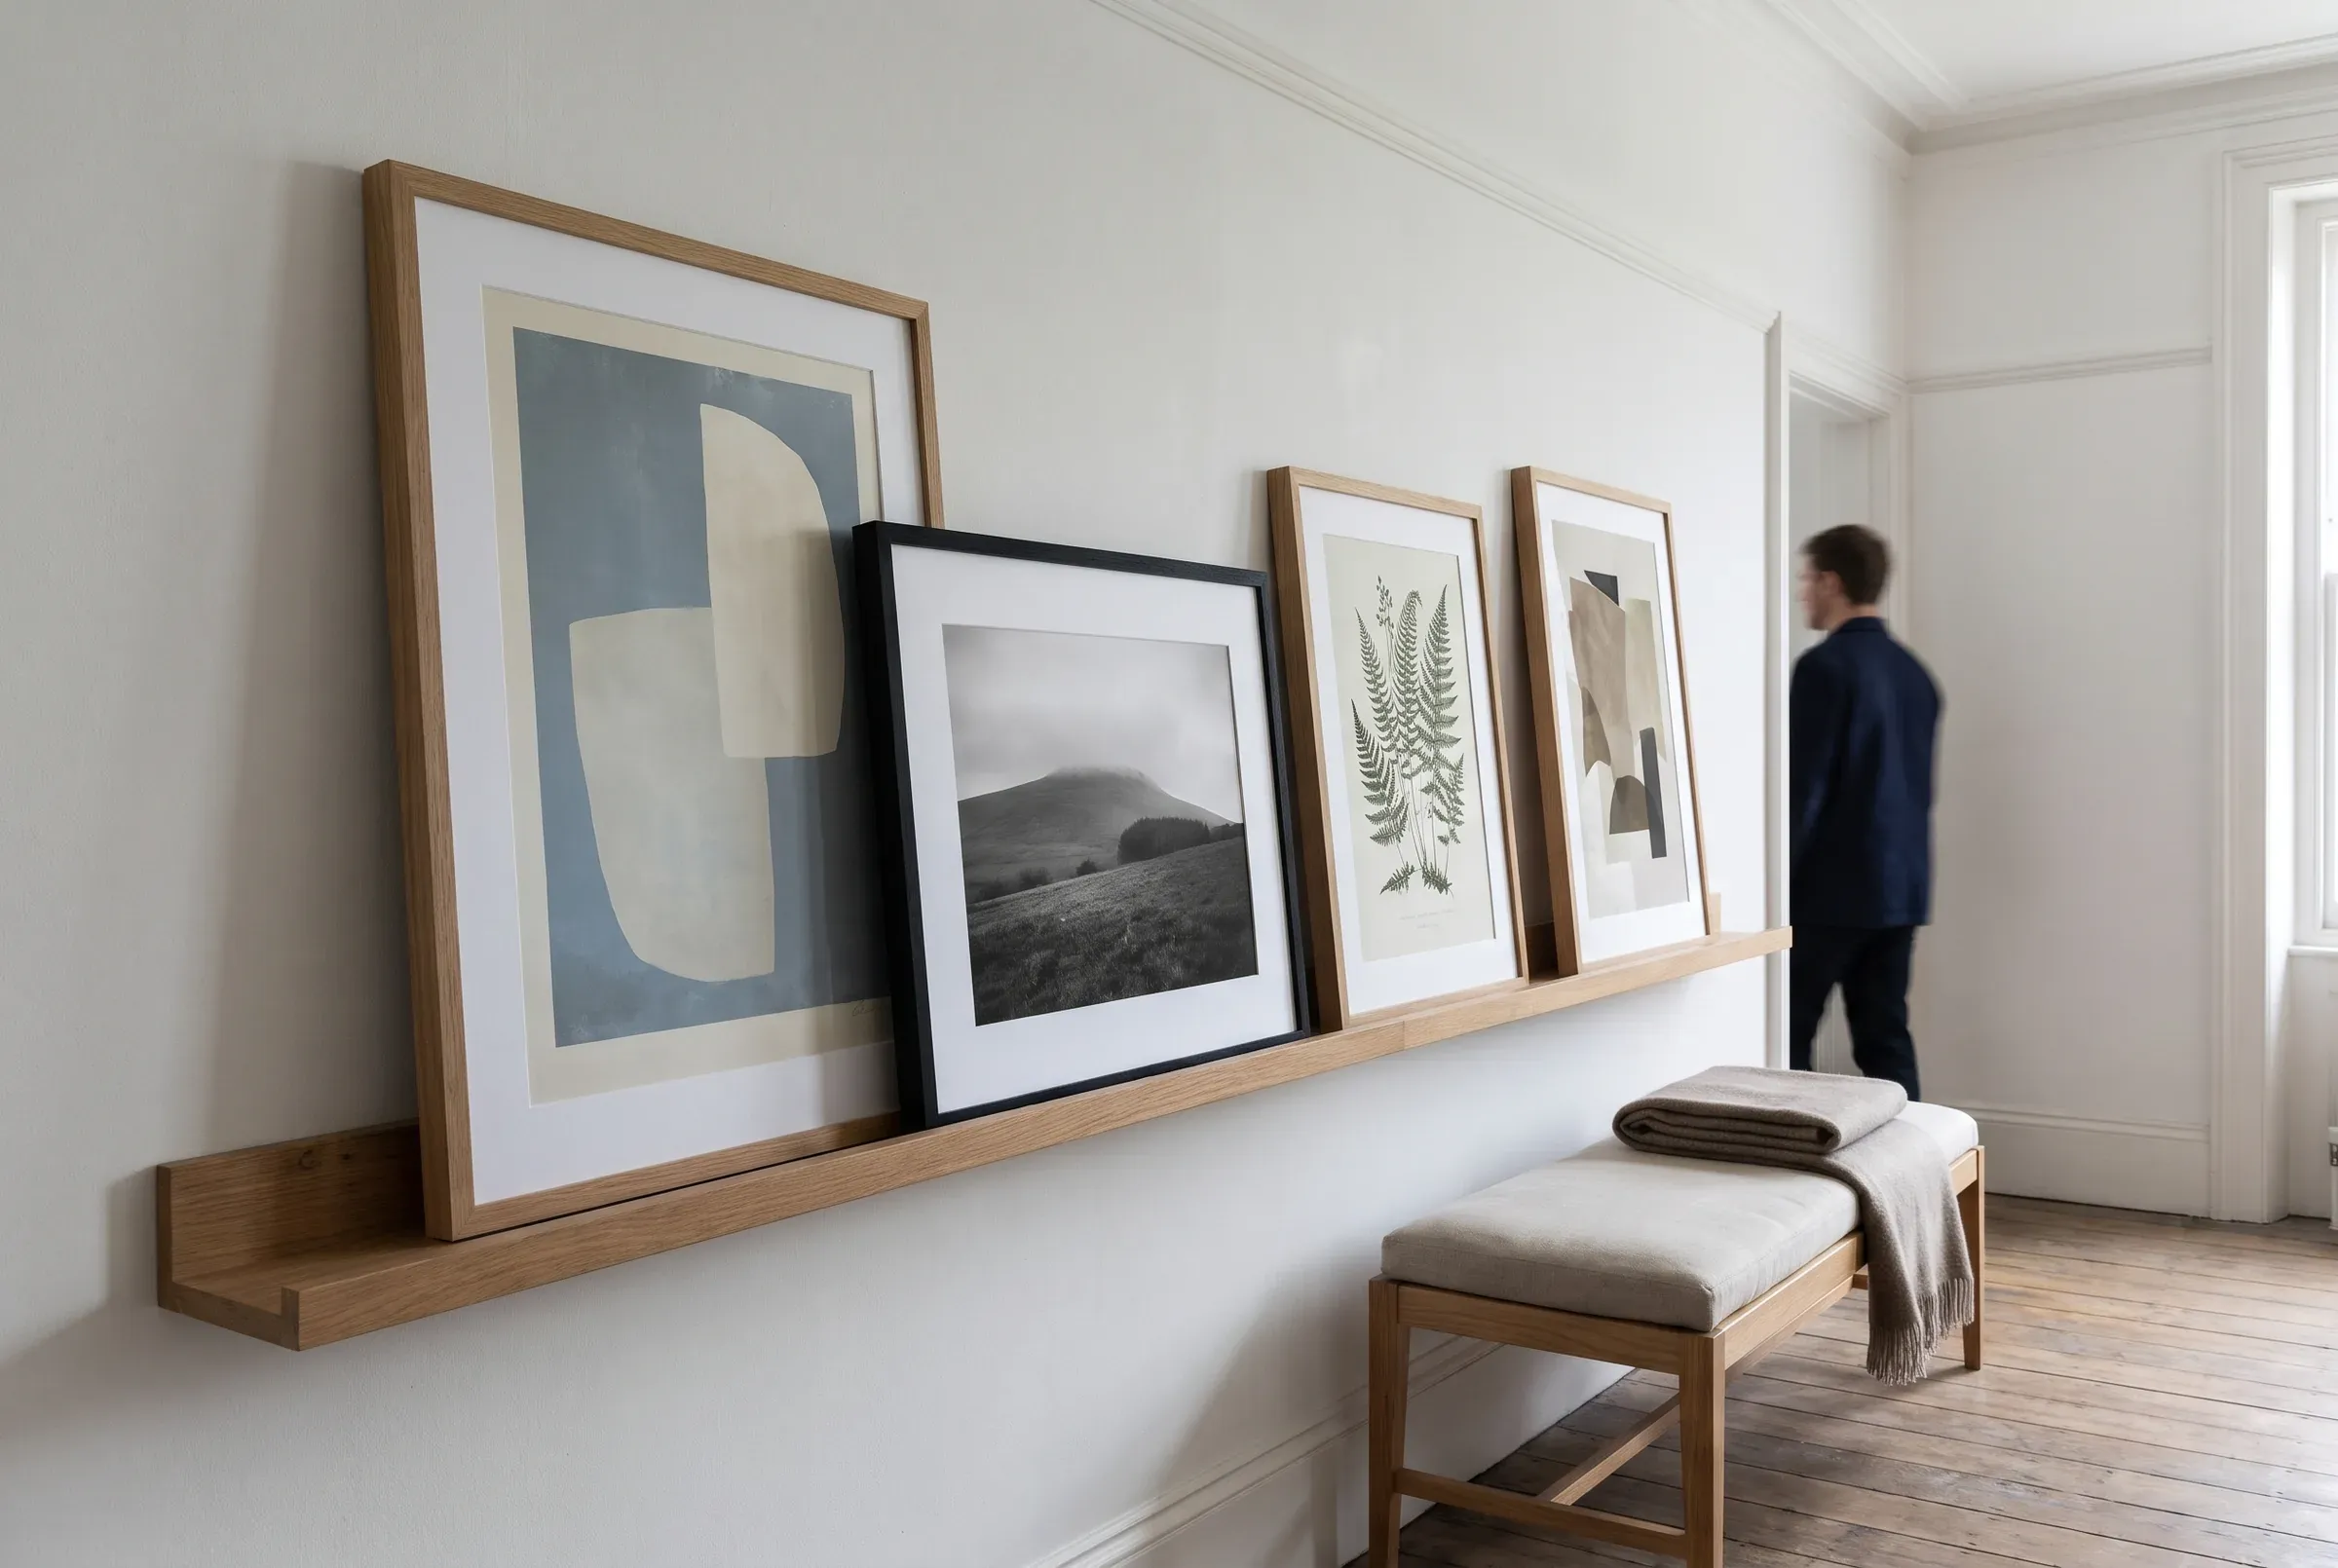
A picture rail takes the frames without a new hole for every change. A leaning shelf does the same at the bottom of a wall.
01
Two points
Hang a frame from the rail on two cords, so it stays level.
02
The bottom line
Let frames of different sizes share a bottom line, or a centre line.
03
Leaning frames
Lean larger frames against the wall on a shelf, with the bottom held by the shelf edge.
04
Leave space above
Keep a little space between the top of a leaning frame and the shelf above.
Ready to hang
Choose the print, the size and the frame, and the rest follows.
Print releases and notes from the hang.